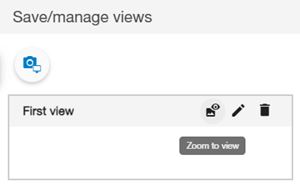
This tool lets the user save the 3D view in the project configuration common to all users, together with the selection, visibility and style of the layers. In this way, other users can reproduce exactly the same display.
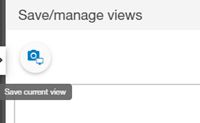
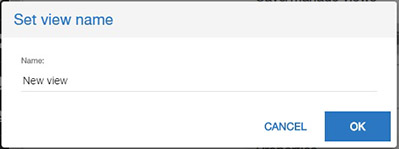
By clicking on the "Save current view" button, the user will be able to type a name to store the current view and configuration.
At any time, the user can return to a saved view by selecting it in the list and then clicking on the "Zoom to view" button. A message will appear to warn the user that the current layer visibility and styles will be overwritten. If necessary, the current view and configuration should be saved to a new view before applying a saved one.
The user can also zoom to a saved view by double-clicking on its name.
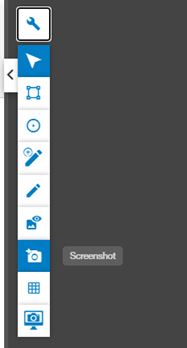
This tool lets the user capture images to use as thumbnails for projects and layers.
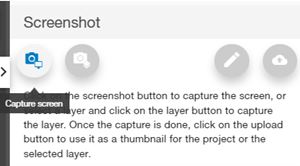
By clicking on "Capture Screen," a window will appear with a variety of tools to enhance your experience. These tools allow you to add annotations, draw shapes, or even download the captured content.
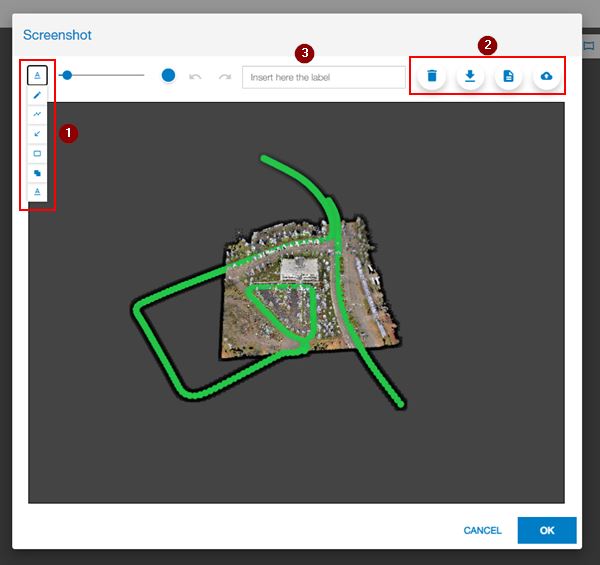
Buttons number 1 are tools to help the user to draw and and annotation on the screenshot.
The group of button number 2 shows tools to delete all annotations, download or print the screenshot.
Buttons number 3 allows the user to insert, change the color or size of the text.
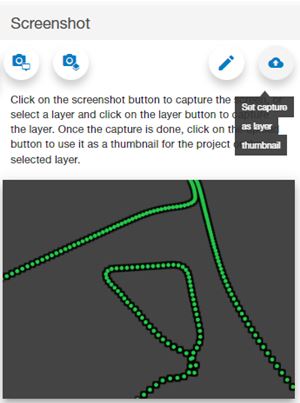
To create or update a project thumbnail, first click on the screenshot button in the Tool panel. The image captured from the 3D View will appear in the panel.
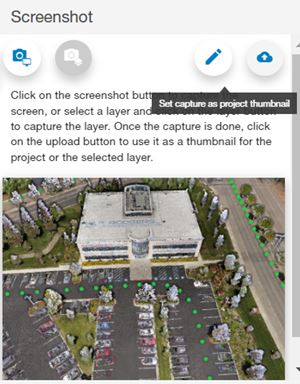
Then click on the upload button to save the image as thumbnail for the project. The result will be visible in the Projects page.
Please note that the user must have proper permissions. For instance, a user will not be able to update the thumbnail of the shared demo project.
To create or update a layer thumbnail, the user must select the layer in the Layer Manager and then click on the "Capture layer" button in the Tool panel.
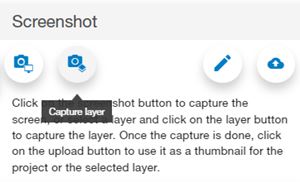
In this case, only the selected layer will appear in the image. The thumbnail can be saved with the upload button.