Collage Office users can upload image, features and point cloud data directly from this application. For general users, the Collage Web Upload page is a very convenient way to upload point clouds, 3D models and images, limited to the supported formats.
These data types and formats are supported for uploading in the Collage Web application:
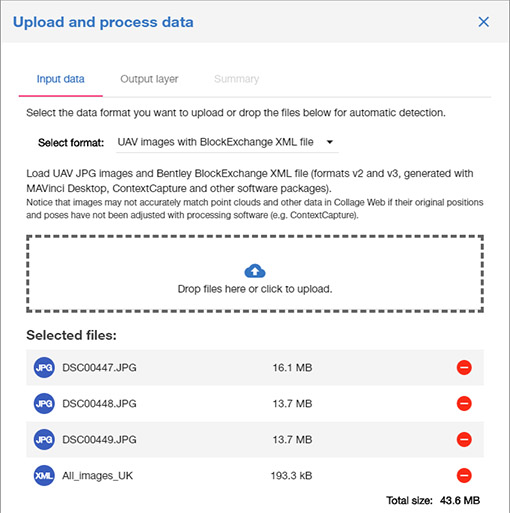
Note that imported images may not accurately match point clouds and other data in Collage Web if their original positions and poses have not been adjusted with processing software (e.g. ContextCapture). Ideally, an XML file with image metadata should be exported from the processing software after reconstruction, and used to import the images.
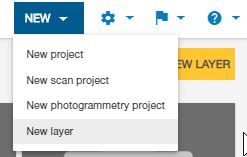
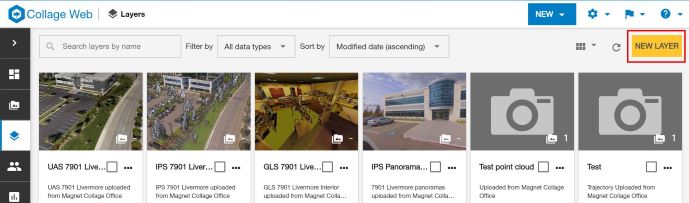
The Upload wizard can be accessed from the "New layer" command in the top application menu or in the Layers page:
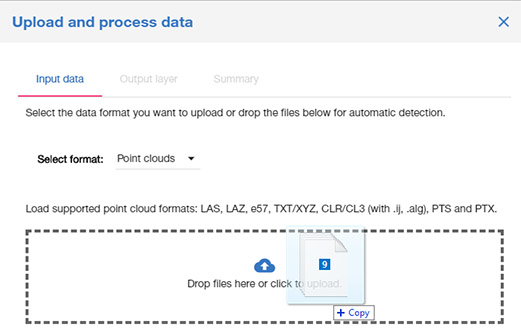
Drag the folders containing the point cloud data in the "drop files" area, or click there to select them. Note that some browsers may not support folder drag and drop. In that case, move the files in a single folder, or add them group by group.
You can select the format in the dropdown list to get additional help, or let Collage Web detect it automatically from the added files.
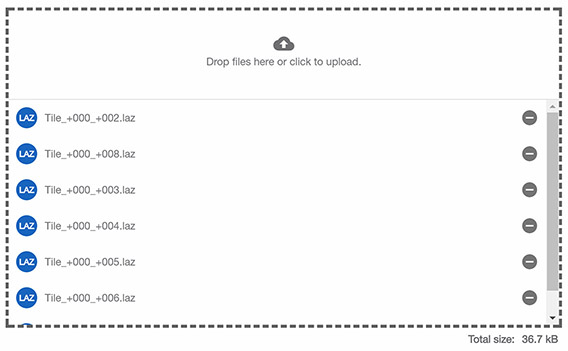
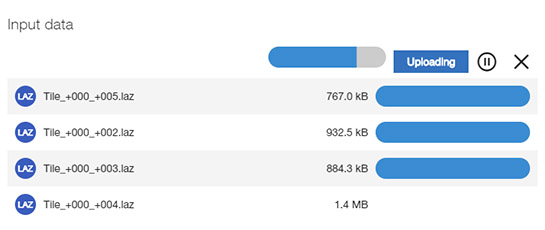
The files to upload will be listed and their total size indicated:
The Coordinate Reference System of the original data must be manually selected in the Input CRS field (type the EPSG code, area name or CRS name to search):

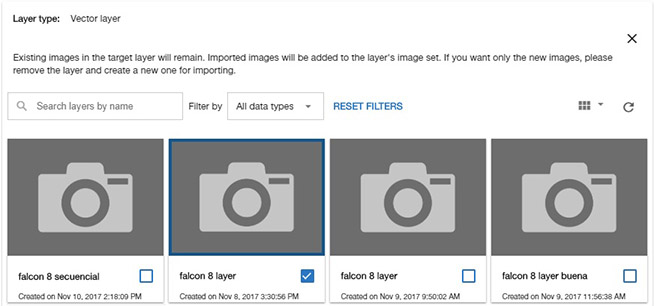
In the next page of the wizard, you can choose to create a new layer with the uploaded data, or overwrite an existing layer. The advantage of selecting an existing layer is that all projects sharing this layer will now use the updated data.
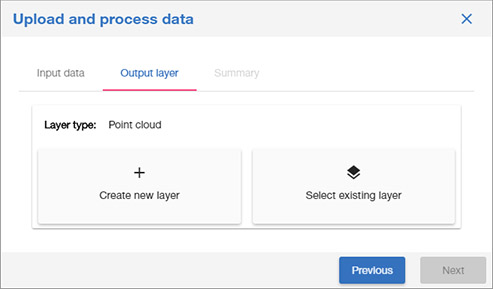
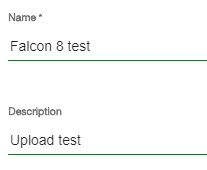
If the new layer option is selected, a name and description must be provided.
After entering the layer data, an option can be selected to create automatically a new project containing the output layer. Otherwise, the output layer can be manually added later to an existing or new project.

The "Point cloud conversion options" tab offers a quality option to process the uploaded point cloud for visualization. The high quality option requires more time for processing but it generates a better looking display with nice resampling, adaptive point size and per-point lighting option. The standard quality is faster to process but generates a simpler visualization.

The next page will show a summary of the files to be uploaded and the target layer.

Click on the "Upload and process" button to start. First, the new layer (if this option is selected) will be created. Then the files will start uploading."
After the upload starts, or when it's finished, you can go to the Tasks page and follow the status of this new process. After the uploading is done, the status will be shown as "Processing" as the point cloud is processed for display in Collage Web. If there are other processes running, the status of the new task might be "Pending" until the process can be started.
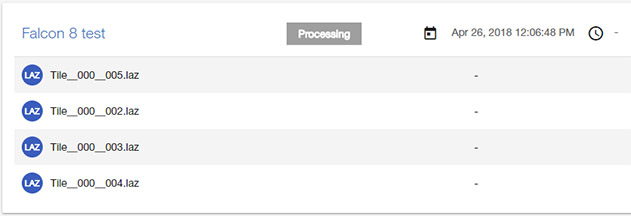
The process status will be refreshed automatically every minute, or you can refresh it manually with the Refresh button. After a while, it should show a "Completed" status and the time it took the data process to finish.
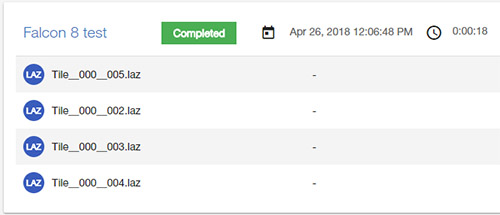
When the process completes, you should receive an email notification, unless you disable in the Notification Preferences panel.
In the data management page you will see how to create a project and display the uploaded point cloud data.
To upload UAV images, you need to add to the wizard the JPG image files themselves and, for most formats, one or more metadata files.
If you are not sure what files need to be uploaded, select first the format in the dropdown list and you will get additional information about it.
For UAV images, the input CRS will be automatically detected if it is specified in the image metadata. If the user selects the CRS manually, this selection will override the automatic detection.
When metadata is provided, only images that appear both in the file list and in the metadata list will be imported.
For UAV images, if an existing layer is selected, the imported images will be added to the ones already existing in the layer (as opposed to point cloud layers, whose data is overwritten).
After uploading, images need extra processing in the server. You can track this task in the Upload wizard or in the Tasks page. After the process is completed, the images will be available as a layer.
In the data management page you will see how to create a project and display the uploaded images.
Textured 3D meshes generated from ContextCapture photogrammetry software can be uploaded to Collage Web.
To upload this data type, select or drop the JSON file used as index and the whole "Data" folder compressed as a single ZIP file:

The "Cesium 3D tiles" format will be detected, and the geocentric ECEF (EPSG:4978) will be selected by default.

After the uploading and processing completes, a new 3D model layer will be created. Note that displaying the data in Collage Web might take a while the first time.

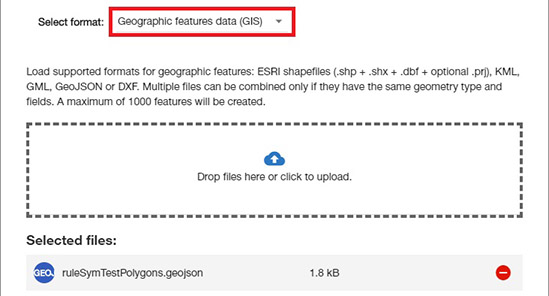
Geographical Information Systems manage point, line and polygon data with attributes. This type of data is similar to the files exported from Collage Web vector feature layers.
Importing GIS data helps Collage Web users to integrate data from GIS software or vector features exported by other users.
Note that:
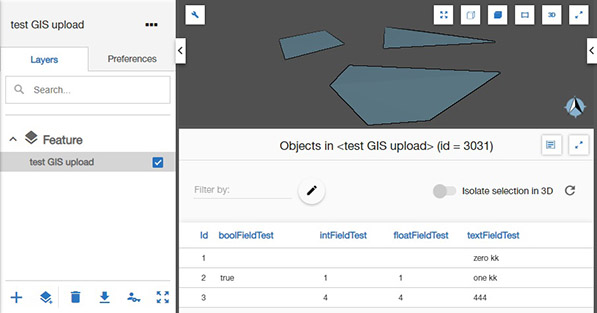
After the uploading and processing completes, a new Feature layer will be created. The geometries will be visible in the scene and the imported attributes can be displayed in the Table view.
Computer Aided Design (CAD) and Business Information Modelling (BIM) software manage complex 3D geometries for horizontal and vertical construction.
Importing CAD and BIM data helps Collage Web users to integrate data from construction design and planning software.
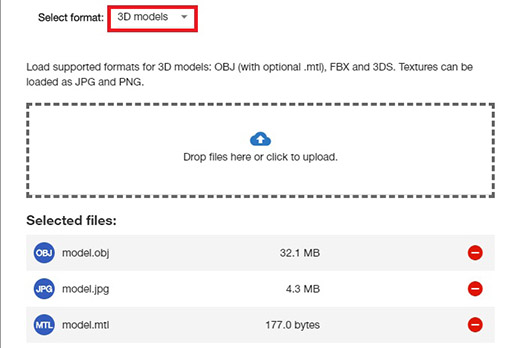
A few formats are supported (OBJ, 3DS, FBX). These formats can be generated from IFC and other BIM data format, or exported directly from many BIM software tools.
Select or drop the CAD/BIM files in the Upload page. If the data contains material files (.mtl for OBJ) and texture files (in JPG or PNG formats), upload these files together with the geometry data.
These formats do not support Coordinate Reference System information, so if the geometries use a CRS, you will need to specify it manually in the selector.
To avoid problems with file references, if you upload materials or textures, do not use spaces or punctuation characters in the file names, only numbers and letters.
The 3D models are not simplified, so avoid uploading very large files. They may impact the performance of the streaming and graphics systems.
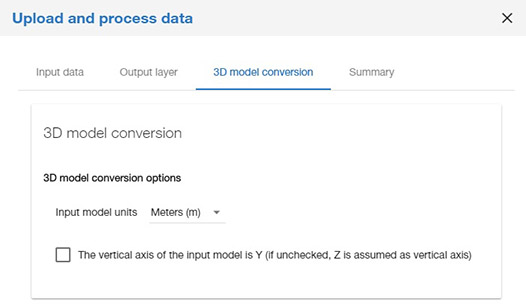
An options tab will be shown to select the original units of the model and the vertical axis (some software uses Y as vertical axis, others use Z).
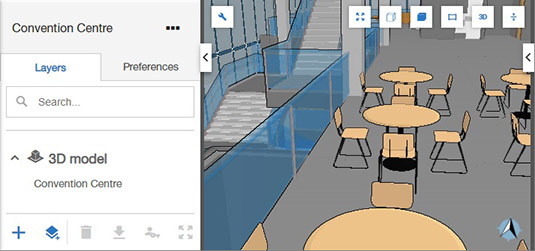
After the uploading and processing completes, a new 3D model layer will be created. If the files came with materials or textures, these will be used when displaying the data. Otherwise, symbol colors can be used to colorize the objects.
A very large 3D model might take some time to upload.
A maximum size of 25Gb is applied to a single upload process (1Gb for LAZ point cloud files). To upload more data, create multiple layers.
The upload process can only work when the Collage Web application is open. If you need to stop temporarily the upload process, you can use the Pause button next to the colored status box, in the Upload wizard or in the Tasks page.

To continue later, use the Play button.

If you need to close the Collage Web connection (for instance, to restart the computer), you can cancel the upload.

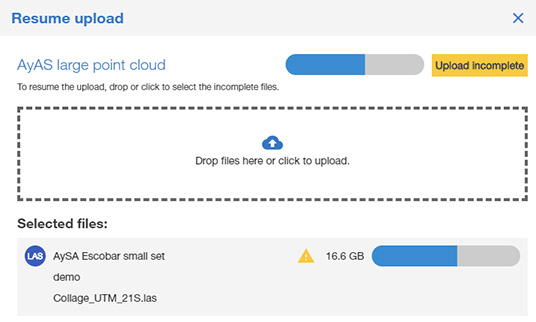
A canceled upload will appear with status "Upload incomplete". If you want to resume it, go to the Tasks page and use the Resume button next to the status box.

The Upload wizard will appear again in Resume mode. Please drop or select again the missing files and continue the process.
If you don't wish to continue the upload, you can remove the process with the Delete button in the Tasks page. You should also delete the new layer in the Layers page, to release its storage.

The data upload and processing task may fail. In that case, its status in the Tasks page will show it.
In case of a connection failure, you can use the Resume button and drop or select again the missing files to continue the upload process, as described above.